Appraisal Tile Landing Page
The Appraisal Tile contains information that facilitates the appraisal portion of the assignment process. The Appraiser uses the Appraisal tile to pull appraisal information from third party applications into FMS.
Appraisal Tile Showing Estimate Data Selection Options
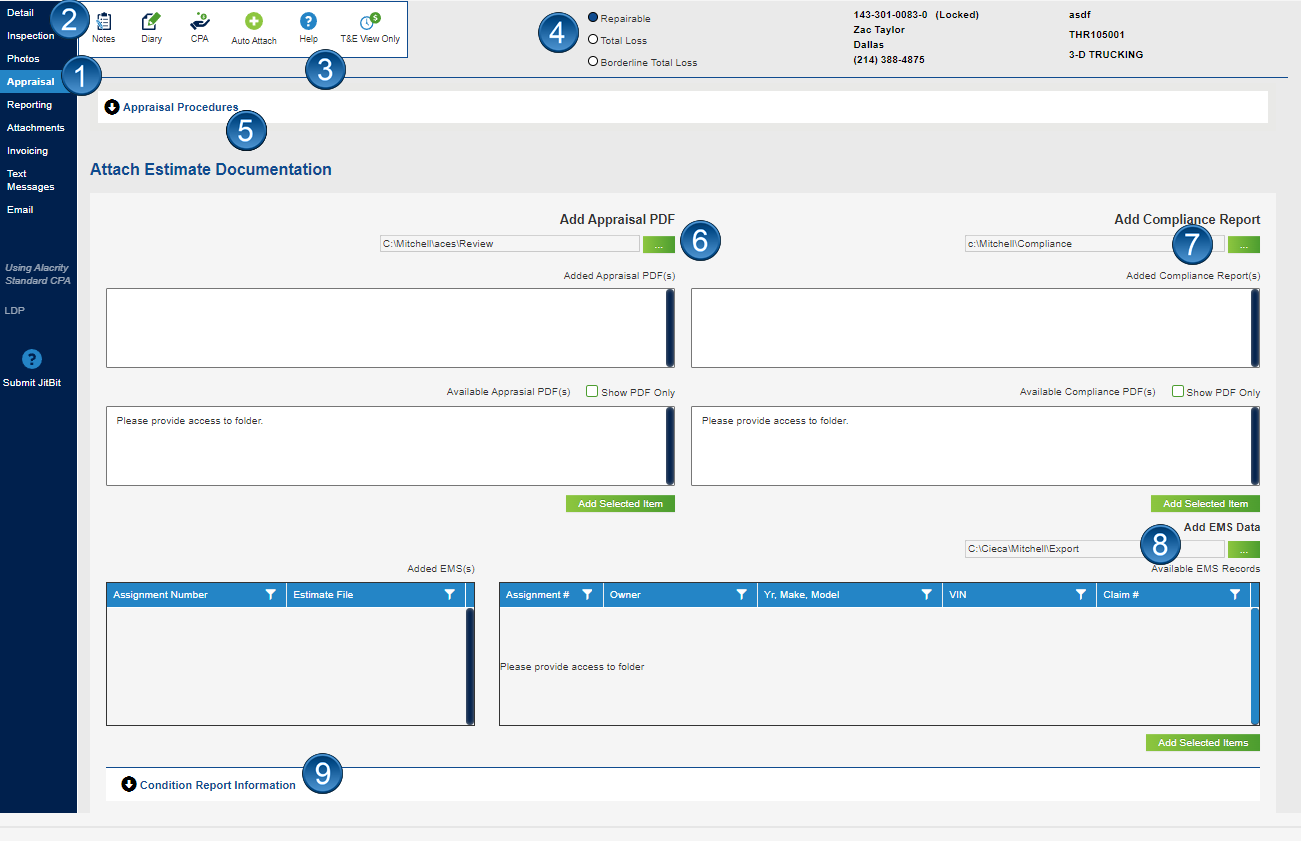
1 — Use the Assignment's tiles to access different Assignment data.
Note: Appraisers do not have access to the Invoicing tile.
2 — If notes for the appraisal were included when the Assignment was created, they appear in a pop up window each time a user accesses the tile.
3 — Use the Icon Menu bar to perform different tasks, such as create a Diary entry or view the CPA instructions.
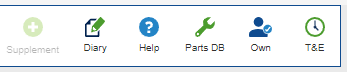
There are four icons available from the Contact tile — Notes, Diary, CPA, and Help.
- Notes — If there are notes within the Details tile about Contact information, click the Notes icon to access them.
- Diary — Click the Diary icon to access journal information about a given assignment.
- CPA — Click to access CPA instructions for the Assignment.
- Help — Clicking this icon opens web based help about a specific screen for the application.
4 — The Total Loss Indicator helps guide the CPA's procedures. There are three options: Repairable, Total Loss, and Borderline Total Loss.
5 — Appraisal procedures from the CPA (if applicable) appear in the expander panel. Click the circled arrow to expand and contract the panel.
Appraisal Panel Expanded to Show Procedures

6 — The 'Add Appraisal Files' button allows users to browse their File Explorer and add files to the Appraisal document.
7 — The 'Add Compliance Files' button allows users to browse their File Explorer and add files to the Compliance document.
8 — The 'Add EMS Files' button allows users to browse their File Explorer and add EMS files. Adjustrite filesets are available from this area.
Important:
- If folders are not set properly, estimate data does not transfer to the WebFMS system.
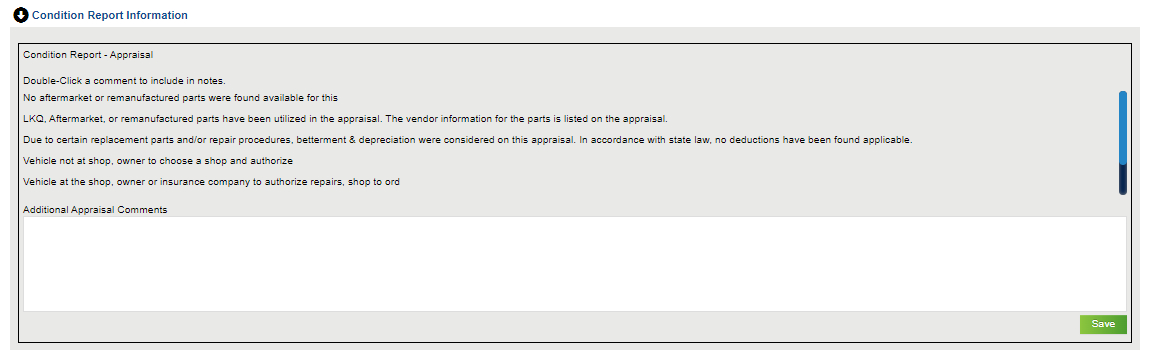
9 — Expand the Condition Report Information section to view and select specific comments for the Condition Report. (See Condition Report Comments image below.) Double-click specific comments to see them appear in the text box below.
Condition Report Section on the Appraisal Tile
Important: Deleting the EMS files, the Compliance Report, or the Appraisal document from FMS does not delete the source files, which reside in a third party application. Remove the files from the third party application and then delete them from FMS to permanently remove these files.
After attaching photos to the Assignment Package, the Appraiser needs to add the estimate, the compliance report, and EMS data.
When a user clicks on the Appraisal tile, WebFMS looks in several default folders for these items to add.
Attaching the Documentation
PDAFMS looks for Appraisal documentation from your estimating software within a specific default folder. Your estimating software can be set up to export to specific default folders. The estimating application exports to the folder, and PDAFMS imports from that folder.
For the Appraisal document, PDAFMS looks within the default folder and shows likely documents in the view screen on the right. To help you find the appropriate document, you can select the Show PDF Only checkbox so that only .PDF documents appear in the list (instead of all file types).
Select the correct document (that has the assignment number and est or sup in the filename) and click the Add Selected Item button.
The selected document appears within the view screen on the left after being added.
Compliance Document
WebFMS looks for Compliance documentation within a specific default folder. Your estimating software can be set up to export to specific default folders. Just like with the Appraisal document, the estimating application exports the Compliance document to the selected default folder, and WebFMS imports from that folder.
For the Compliance document, WebFMS looks within the folder and shows likely documents in the view screen on the right. To help you find the appropriate document, you can select the Show PDF Only checkbox so that only .PDF documents appear in the list (instead of all file types).
Select the correct document (that has the assignment number and comp in the filename) and click the Add Selected Item button.
The selected document appears within the view screen on the left after being added.
EMS Data
WebFMS looks for EMS data within a specific default folder. Your estimating software can be set up to export EMS data to a specific default folder. Just like with the other documents, the estimating application exports the EMS data to the selected default folder, and PDAFMS imports the EMS files from that folder.
For the EMS Data, WebFMS looks within the folder and shows likely documents in the view screen on the right.
Select the correct documents (that have the assignment number in the filename) and click the Add Selected Item button.
The selected files appear within the view screen on the left.
Adjustrite information is added in this area as well.
Adding Condition Report Comments
Click Condition Report Information to expand the Appraisal tile and show Condition Report Comments.
Expanding Condition Report Section on the Appraisal Tile
Use the vertical scrollbar to scroll up and down the list.
Double-click the desired comment(s). Keep in mind that several comments require additional information, such as "Potential supplement range: [dollar range]". Just select the text to replace and enter dollar figures to represent the range of cost.
Click the Save button to save these comments to the Condition Report.